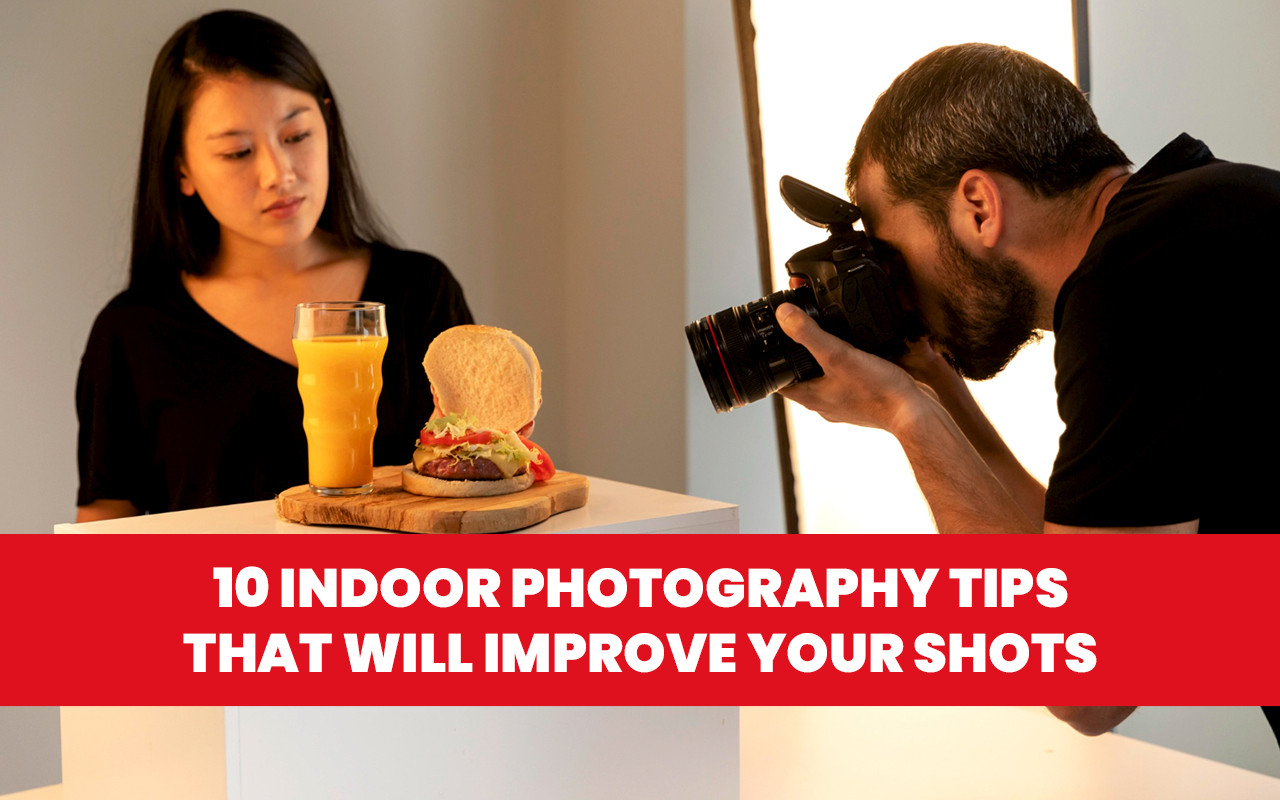
10 Indoor Photography Tips That Will Improve Your Shots
I've been teaching photography for over a decade, and if there's one challenge that consistently frustrates beginners, it's shooting indoors. I still remember my first indoor assignment – a friend's dinner party where I proudly showed up with my new DSLR, only to end up with a memory card full of blurry, yellow-tinted photos. Talk about humbling!
Indoor photography demands different skills than outdoor shooting, but once you understand the core principles, you'll be capturing stunning indoor images in no time. Let's dive into the techniques that transformed my own indoor photography from embarrassing to impressive.
Understanding the Indoor Photography Challenge

Indoor environments present three main challenges:
- Limited light – Typically 5-10 stops darker than daylight
- Mixed lighting sources – Often combining daylight, tungsten, fluorescent, and LED
- Restricted space – Less room to maneuver and compose
The good news? These challenges can be overcome with the right settings, gear, and techniques.
Essential Camera Settings for Indoor Photography
Exposure Triangle Adjustments
ISO Settings: Unlike outdoor photography where I stick to ISO 100-400, indoors I regularly use ISO 800-3200. On my older camera, anything above 1600 looked terrible, but newer models handle ISO 3200 or even 6400 remarkably well.
When shooting my nephew's birthday party last month, I pushed to ISO 2000 to freeze the action in the dimly lit room. Yes, there was some noise, but a slightly noisy sharp image beats a clean blurry one every time.
Aperture Choice: Indoors, I typically shoot wide open. My go-to lenses indoors are:
- 50mm f/8 (the affordable "nifty fifty")
- 35mm f/1.4 (when I need a wider view)
- 24-70mm f/2.8 (when I need versatility)
The wider apertures (smaller f-numbers) let in more light and create pleasing background blur that helps subjects stand out in busy indoor environments.
Shutter Speed Considerations: This is where many beginners struggle. Indoors, you need to be extra careful with shutter speed to avoid blur. My general rules:
- For stationary subjects: No slower than 1/focal length (e.g., 1/50 sec with a 50mm lens)
- For moving people: Minimum 1/125 sec
- For active children: At least 1/250 sec
- For pets zooming around: 1/500 sec or faster
When I shot an indoor corporate event last year, I kept hitting 1/60 sec – too slow for people walking across the stage. Increasing my ISO from 1600 to 3200 let me bump the shutter to 1/125 sec, saving the shoot.
White Balance for Indoor Photography
Auto white balance often fails indoors due to mixed lighting. Instead:
- Use a gray card for critical work
- Set custom white balance in consistent lighting
- Shoot in RAW to adjust later (my preferred approach)
- Try presets like "Tungsten" for incandescent bulbs or "Fluorescent" for office lighting
During a recent home interior shoot, one room had daylight from windows, tungsten lamps, and LED ceiling lights. Rather than fighting it, I took multiple exposures with different white balance settings and blended them in post.
Essential Gear for Indoor Photography
While technique trumps equipment, certain gear makes indoor photography significantly easier:
Fast Lenses: Glass with wide maximum apertures (f/1.8, f/1.4, or even f/1.2) transforms indoor shooting. My first "aha" moment came after upgrading from my f/3.5-5.6 kit lens to a $125 50mm f/1.8 – suddenly indoor shots without flash became possible!
Reliable Flash: A speedlight that can rotate and bounce light makes an enormous difference. Direct flash creates harsh shadows and flat lighting, while bounced flash produces soft, natural illumination.
I once shot a birthday party with direct flash (ceiling was too high to bounce) and hated the results. The next day I returned with a $15 flash diffuser and captured much more flattering images.
Tripod: For still subjects like interior architecture or product photography, a tripod lets you use lower ISOs and smaller apertures for maximum quality and depth of field.
Light Modifiers: Even simple tools like a white foam board can reflect window light onto shadowed areas of your subject.
Indoor Natural Light Techniques
Window light remains the most beautiful indoor light source. I've shot professional portraits using nothing but a north-facing window and a reflector.
Window Light Tips:
- Position subjects at 45° angles to the window for dimensional lighting
- Use sheer curtains to diffuse harsh sunlight
- Place reflectors opposite windows to fill shadows
- Move subjects closer to windows to increase light intensity
For a recent portrait session in a tiny apartment, I cleared furniture away from the only decent window, positioned my subject just right, and used a $20 collapsible reflector. The client thought I'd brought professional lighting!
Flash Techniques for Indoor Photography
Many photographers fear flash, but mastering a few basics transforms your indoor shooting:
Bounce Flash: Never point flash directly at subjects if you have walls or ceilings to bounce from. I aim my flash at a 45° angle toward a white ceiling or wall to create soft, diffused light.
Flash Compensation: I typically reduce flash output (-1 to -2 stops) when bouncing to avoid overpowering ambient light. This maintains the room's atmosphere while adding just enough light to your subject.
Dragging the Shutter: Using slower shutter speeds (1/15 to 1/60) with flash freezes your subject while allowing ambient light to register in the background. This prevents the dreaded "flash cave" effect where subjects are bright but backgrounds go completely black.
Creative Indoor Photography Ideas
Silhouettes Against Windows: Position subjects in front of bright windows and expose for the outside scene.
Light Painting: In a darkened room, use long exposures and moving light sources to create dramatic effects.
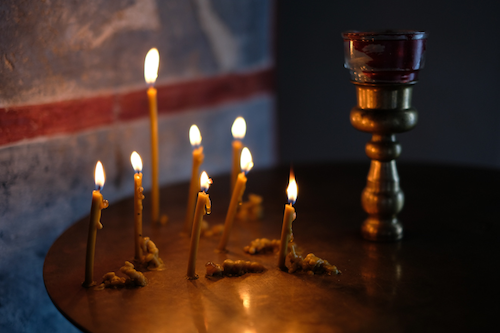
Dramatic Single-Source Lighting: Use one strong light source (even a desk lamp) for moody, high-contrast images.
During a power outage last winter, I created some of my favorite portraits using only candlelight and a 30-second exposure with my camera on a tripod. Limitations often spark creativity!
Indoor Portrait Photography Tips

Find the Light: Always position subjects facing toward the strongest light source, whether it's a window or lamp.
Watch the Background: Indoor environments often contain distracting elements. Move clutter out of frame or use wider apertures to blur backgrounds.
Use the Environment: Include environmental elements that tell a story about your subject.
Indoor Lifestyle Photography
Capturing authentic moments indoors requires preparation and patience:
Prepare Your Space: Clear clutter from key areas before lifestyle sessions.
Increase Ambient Light: Open all curtains and turn on lights before shooting.
Anticipate Moments: Position yourself where interactions are likely to happen.
Be Patient: The best lifestyle shots happen when subjects forget about the camera.
Troubleshooting Common Indoor Photography Problems
Problem: Yellow/orange color cast
Solution: Correct white balance or use a flash with CTO gel to match ambient light
Problem: Blurry images
Solution: Increase ISO, use wider aperture, add light, or stabilize with tripod
Problem: Harsh shadows
Solution: Bounce flash, use diffusers, or position subjects better relative to light sources
Problem: Cluttered backgrounds
Solution: Reposition, use wider apertures, or shoot from angles that simplify backgrounds
Conclusion
Indoor photography initially challenged me more than any other genre, but mastering these techniques transformed my work. Start with understanding your camera's exposure settings, find and shape the available light, and add artificial light when necessary.
Remember that practice is essential – I shot thousands of mediocre indoor photos before consistently creating good ones. Each challenging indoor situation teaches you something new about light, composition, and technical settings.
What indoor photography challenges are you facing? Share your questions or tips in the comments below! And if you're ready to master indoor photography completely, check out our comprehensive online courses at TheCompellingImage, where we provide personalized feedback to accelerate your learning.