Low Light Photography Tips for Landscapes, Cityscapes & Night Photography

Light is the lifeblood of photography—without it, there would be no literal or figurative photographic creations. Allow me to explain further.
The word "photography" is a combination of the Greek words for "photo" and "graphia," which translates as "drawing with light." Everyone is pursuing this craft, from professional photographers to amateurs, striving to capture the moments illuminated by light.
Nevertheless, I refer to a phenomenon as 'the great paradox of photography' - having too much light does not mean the photos will be great.
Contrary to popular belief, some of the most stunning photographs are captured in environments with little or no light. Think gorgeous sunrises and sunsets during tumultuous weather, night skyscapes, heavenly astrophotography, dark streets, and captivating indoor portraits - all exceptional opportunities for memorable images!
For those in the photography field, it is essential to understand and be proficient in low light techniques. In this discussion, we will go over such strategies and how to apply them when taking pictures during travel experiences, like:
- Landscapes
- Portraits
- Cityscapes
- Night skyscapes or Astrophotography
Low Light Photography Tips for Landscapes
Capturing the beauty of low light photography, landscape images taken during Sunrise and Sunset's Golden Hour - when light is scarce or at its lowest point- are some of the most breathtaking.
1) Always Use a Tripod
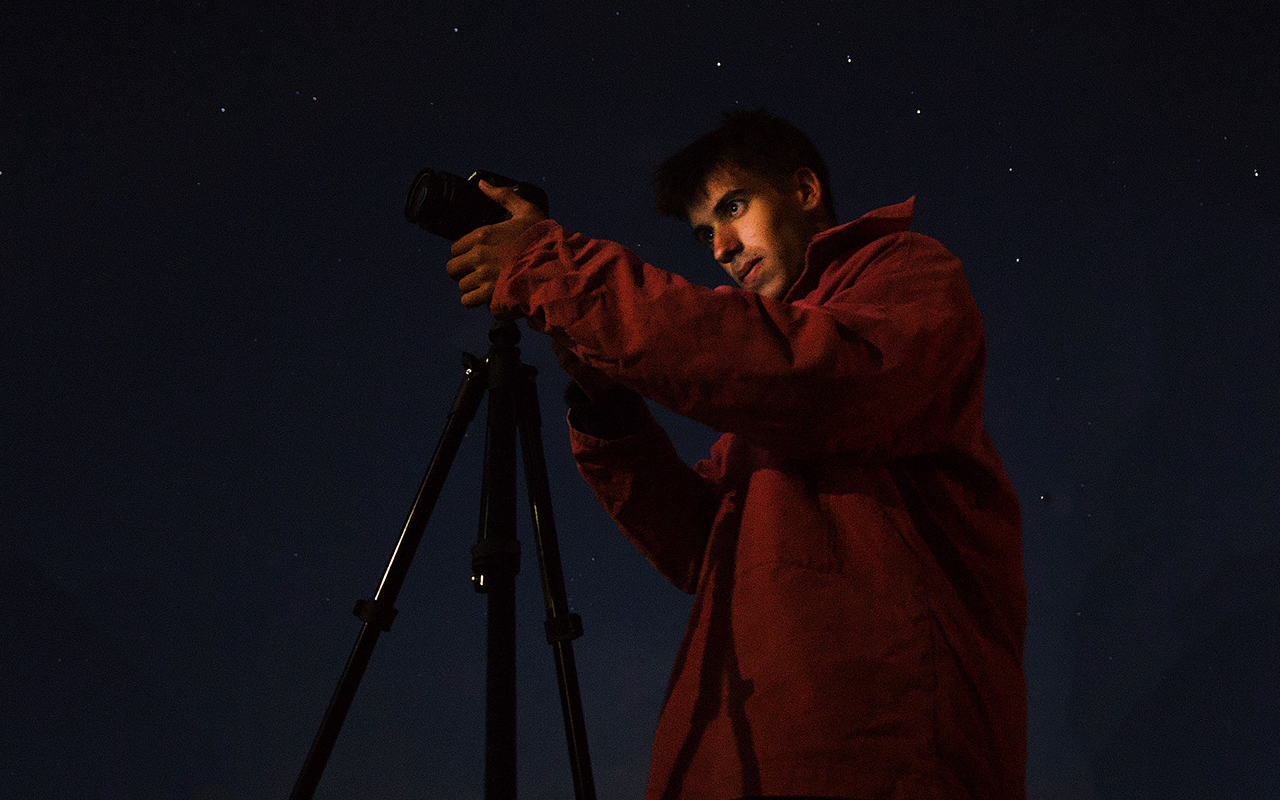
Tripods are an absolute must for any photographer, especially landscape photographers. Why? They ensure stability and can lead to a more conscious composition of shots! A tripod is like a best friend to the landscape photographer - at least in my case, since I'm lucky enough to own three tripods!
Have you ever marveled at the breathtaking beauty of a sunset and wondered how the photographer captured such stunning, sharp images?
It all begins with a tripod. A tripod is essential for keeping the camera steady, particularly in low-light settings requiring slower shutter speeds. As such, photographers can rely on tripods to take clear images at lower ISO values and thus produce higher-quality shots.
Tripods are priceless because they allow photographers to pause and thoughtfully construct a shot. Surprisingly, I take fewer shots when I use my tripod but have far better results due to being more aware of what I am doing.
2) Take Advantage of Remote Release or 2-Second Delay.
Even with a tripod, the camera shake from human error is too familiar. We can't deny the difficulty in not shaking our hands when we press the shutter button - even experienced photographers have trouble avoiding this! But regardless of how steady your hand may be, the camera shake persists.
You have two options to prevent blurry, out-of-focus photos caused by camera shake: the 2 Second Delay or the Remote Release.

With most cameras on today's market, you get an incredible two-second delay. That means that after pushing the shutter button, your camera will wait those two seconds before taking a snap!
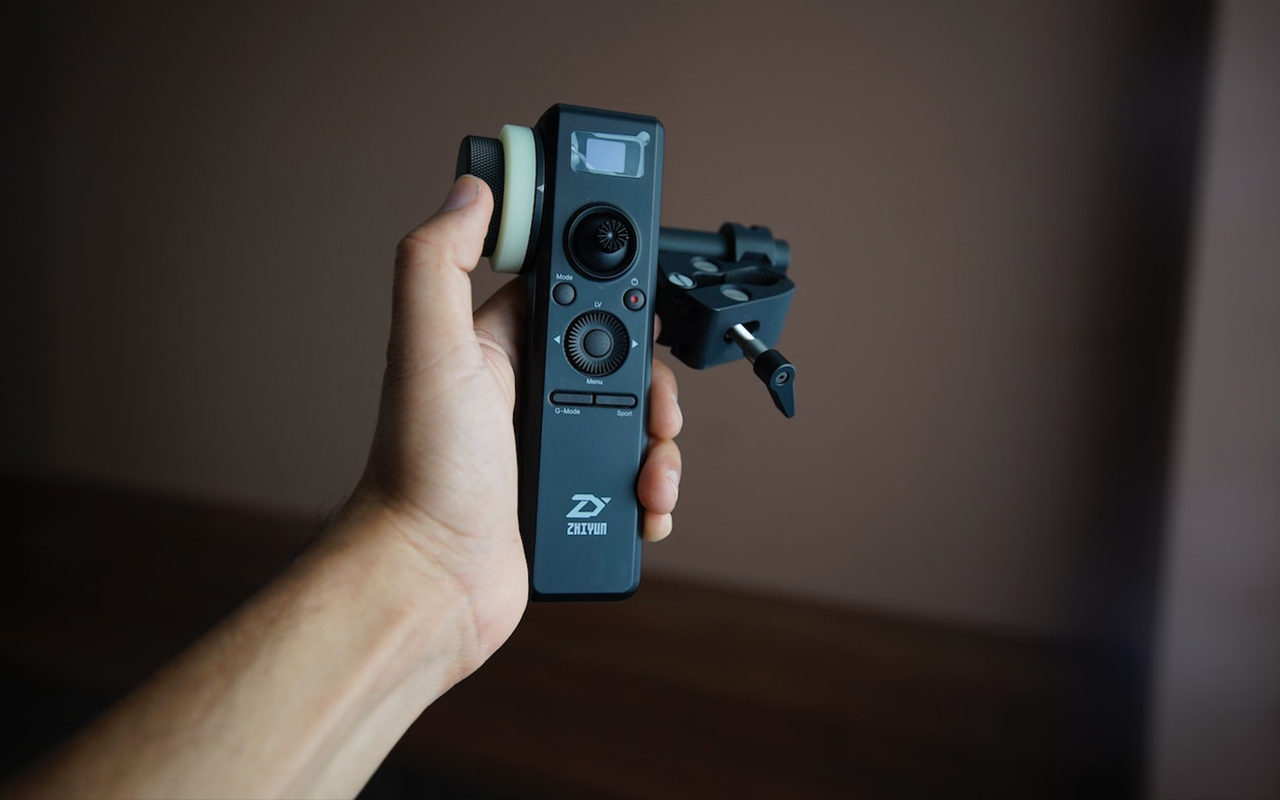
An affordable Remote Release is the perfect solution for your budget and needs. Whether you prefer a wired or wireless connection, this option allows you to create stunning images easily. I use an economical $10 wireless remote that works wonders in my photography!
As a photographer, I combine the 2 Second Delay and Remote Release methods to achieve optimal results. When taking single shots, the former technique is my go-to choice; however, when attempting exposure bracketing of multiple images in succession, nothing beats utilizing a Remote Release for ease and effectiveness.
03. Use a Long Shutter Speed
If you don't have enough light, there are three ways to compensate:
- Increase the Shutter Speed
- Boost the ISO
- Open the Aperture
Utilizing longer shutter speeds in photography introduces us to the opportunity of extended exposure technique, essential for capturing stunning landscape shots. Moreover, it allows photographers to add motion blur and create a smooth effect of flowing water that many landscape images showcase.
By employing a longer shutter speed, we can create an appealing motion blur effect and use a lower ISO setting to generate higher-quality images. Additionally, by opening the aperture, we can achieve maximum depth of field and focus on every aspect of the scene.
Read Also: https://thecompellingimage.com/blog/how-to-become-a-professional-photographer
Portraits and Low Light Photography
Photographers experience similar challenges while shooting in low-light conditions, regardless of the scene—such as a landscape or an indoor portrait. The critical difference lies in how we adapt and conquer these issues.
01) Open up Aperture
Although a lengthy shutter speed is often employed when shooting landscapes in the dark, where motion blur can be advantageous, this technique can have disastrous effects on portraits.
Expand the aperture of your lens to its lowest setting. Seemingly counterintuitive, opening up the gap:
- Allowing more light to reach the camera sensor ensures balanced exposure.
- Focus your lens on minimizing the depth of field, creating a visually appealing blurred background that helps you distinguish between the model and its environment. This technique is essential in portrait photography!
02) Use Burst Mode
As I previously noted, shooting handheld in low light makes it effortless to introduce a camera shake once the shutter button is pressed.
In contrast, shooting in single-shot mode can lead to blurry images. To reduce this risk and ensure sharper photos, switch your camera's setting to continuous shooting, where the shutter will take multiple shots with a button press. Not only does it cut back on any possible camera shake after the first click, but it also provides various options when editing later!
03) Use Auto ISO
Auto ISO is a powerful setting, combining the freedom of Manual mode with the efficiency of Aperture Priority and Shutter Priority. It is one of the most valuable settings for handheld photography, but only sometimes easy to understand - that's where I come in! Leveraging my expertise and experience, I can help you understand how Auto ISO works and get the most out of it.
Auto ISO equips your camera with the ability to maintain a predetermined shutter speed automatically and ISO. When light levels drop, the camera logically adjusts by decreasing its shutter speed while boosting the ISO. Moreover, you can also set limitations on when this feature should kick in - for instance, setting it such that it stays below 1/100s or an ISO of 1600, depending upon what suits your desired outcomes better!
Adopting the proper Auto ISO settings guarantees you clear pictures with minimal distortion.
To utilize Auto ISO on your camera:
- An actual shutter speed should be established when shooting with a Sigma 30mm ¼ portrait lens. I never go any lower than 1/100s to ensure clear and crisp images.
- To ensure the best results, I set my ISO range between 100 and 1600 since it is known that a Sony a6000 produces satisfactory noise up to this level.
Read Also: https://thecompellingimage.com/blog/how-to-start-a-photography-business
Low Light Photography Tips for Cityscapes
01) Use a Wide Lens
Capturing cityscapes inherently calls for shooting majestic structures from a close-up perspective. Equipping yourself with a wide angle lens is the optimal choice as it provides more creative possibilities and flexibility when composing your shot regardless of lighting conditions.
With their shortened focal lengths, wide angle lenses are convenient in dim lighting conditions as they lend themselves to producing less camera shake.
For instance, when shooting with a 16mm wide angle lens, it is generally recommended to utilize a shutter speed of 1/35s, while using a 100mm focal length lens, the typical safe shutter speed would be 1/200s.
02) Use Support
Whether you're taking a picture in the city or elsewhere, tripods are only sometimes feasible. That's why it pays to think outside the box when your camera needs extra stability; get creative and see what ingenious solutions present themselves!
If a tree or building wall is your only support, use it to your advantage! Learn the back of your body against the structure and press firmly on either side with elbows. Exhale and then gradually click the shutter button; this allows you to decrease the shutter speed, producing higher-quality images.
When capturing a scene, you can utilize an element like a fence or bench to provide added stability for your camera. Then use the two-second delay setting on your camera or attach a remote release to ensure no shake when taking the shot.
03. Boost the ISO
When it comes to portrait shots, high ISO values can often lead to poor-quality images. However, you have more leeway for creativity and experimentation when shooting cityscapes! By utilizing black and white photography techniques, you can give your photos a unique aesthetic that brings the beauty of any urban landscape to life - all while embracing digital noise as part of the artwork itself.
Night Skyscapes and Low Light Photography
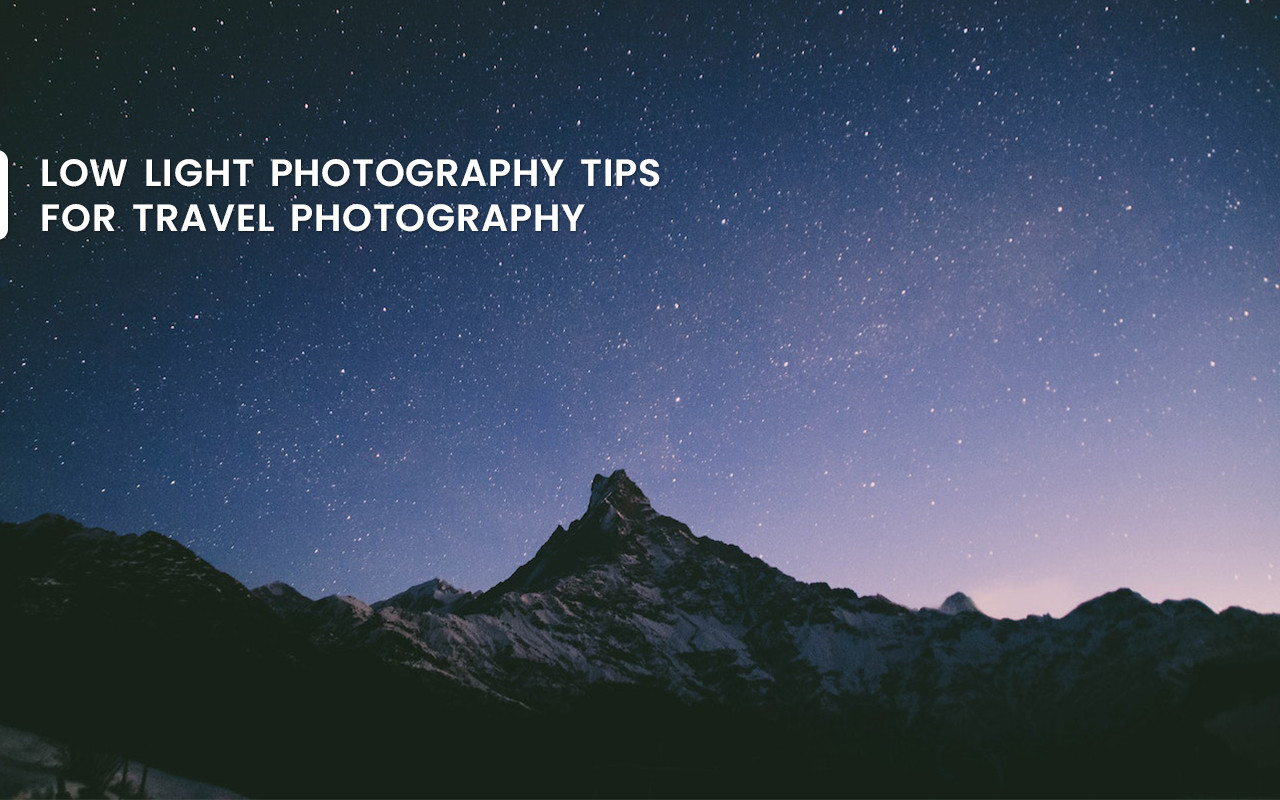
Astrophotography is at the pinnacle of low light photography: capturing the heavens in utter darkness when not even moonlight illuminates the sky.
Astrophotography can reach its highest potential by synergistically combining the camera and lens to boost light. Immortalizing the night sky in all of its beauty requires a long enough shutter speed so that sufficient amounts of illumination reach the sensor, thus translating those stars ordinarily not viewable by our eyesight onto digital film.
01. Use a Fast, Wide Lens
Astrophotography may appear effortless; however, we must consider the Earth's continuous movement or rotation to capture stunning photographs of celestial bodies.If we leave the shutter open for too long, it will result in a hazy appearance of stars and star trails due to excess light. Conversely, if we don't let enough light enter while shooting, our images will remain black with virtually no starlight visible.
To capture sublimely sharp stars, maintain your shutter speed at 30 seconds or lower.
To adequately compensate for the reduced shutter speed, we should employ the widest aperture available and maximize our ISO. The reason is straightforward: using a faster lens can minimize the noise in our image with a lower overall ISO.
Wide angle lenses are perfect for night photography because they let us use a far longer shutter speed before star trails become visible!
02. Shoot Multiple Frames for Noise Reduction
Astrophotography can be tricky regarding digital noise, but many tools and techniques make the job easier. My favourite method is one of the most effective AND simple - Photoshop! Through this powerful software, I can reduce any annoying digital noise in my images without worrying about camera settings.
This technique is particularly beneficial if you lack a fast lens and must increase the ISO values to the maximum.
Capture multiple shots of the same setting to yield images with indistinguishable content but varying noise levels. Utilize Photoshop's Mean Stacking Mode technique to curate a single Smart Object from all your frames and let it use statistical calculations to average out digital noise throughout each shot. With this method, you can produce excellent results!
Conclusion
Grasping the fundamentals of low light photography is integral to any aspiring photographer's journey. It will diversify your skill set and enable you to make your pictures distinctly. Different types of photography need varying techniques, so familiarity with this genre is essential for creating captivating visual compositions.
If you want to sharpen your low light photography skills, use these helpful tips as a guide. Once you've mastered the basics, remember to share your favorite techniques with us!
Frequently Asked Questions
01) What is the best ISO setting for low light?
When you utilize a high ISO value such as 800, 1600 or higher in your photography, this indicates that the camera is more sensitive to light. This sensitivity helps take better-exposed images when taking photographs in low lighting situations and allows for the capture of additional light.
02) Which mode is best for low light photography?
If you're looking to take stunning low light photos, then manual mode is the way to go. With manual mode, you get absolute command of all your camera settings and it's a much better choice for newcomers than automatic mode.
03) What shutter speed is best for low light?
To help you create clear, high-quality images in dim conditions, make sure to set your shutter speed at a rate of twice the focal length. This guideline is becoming increasingly popular among photographers; for example, if shooting with a 50mm lens then it's recommended to use 1/100s or 1/125s as your shutter speed setting. Trust me - this rule will pay off!
04) What is the best setting for night photography?
Unlocking the secrets to breathtaking night photography starts with understanding the ideal camera settings.
- Put the camera on manual mode.
- Use long shutter speeds, between 30-60 seconds.
- Make the aperture around f/11.
- Utilize a low ISO, around 100 or 200.
- Set the white balance to auto.
